1940 Ford Convertible
This nice vintage Ford rod was sent to the shop for a modified custom canvas convertible top. It had one previously installed by others but had fallen short of the owners expectations in appearance and performance. There are several pictures here that depict how involved a project of this size can become when preparing to fabricate and install a soft top.

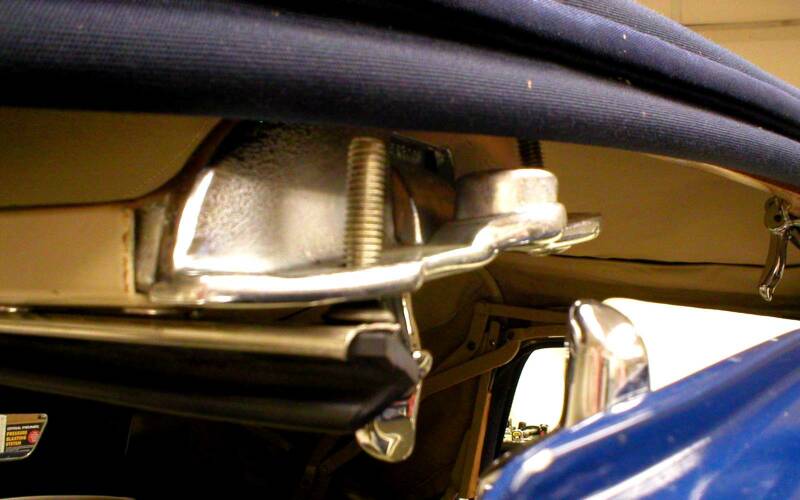
This is how the top appeared when it was first taken into the shop. The top frame exhibited several problems that did not allow the owner to enjoy top-up motoring. Aside from the actual structure of the frame having issues, the hydro-electric power system did not function properly and had been disconnected so the top could be operated manually. All of these issues would be first on the agenda of installing a new custom-made canvas top.
R. A. Snively Designs Richmond, Indiana
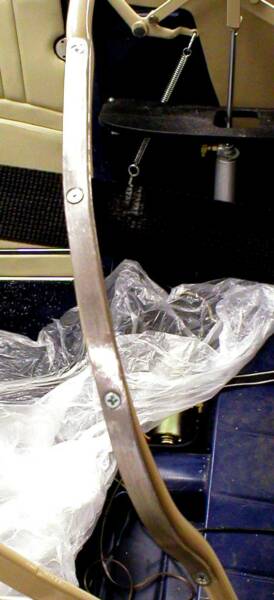
The two pictures above show the header bow and the issues that were immediately evident. The top did not reach the windshield frame making it impossible to latch the top. Having the side rail mounting bolts pull out of the wooden header on the right side contributed to this issue.
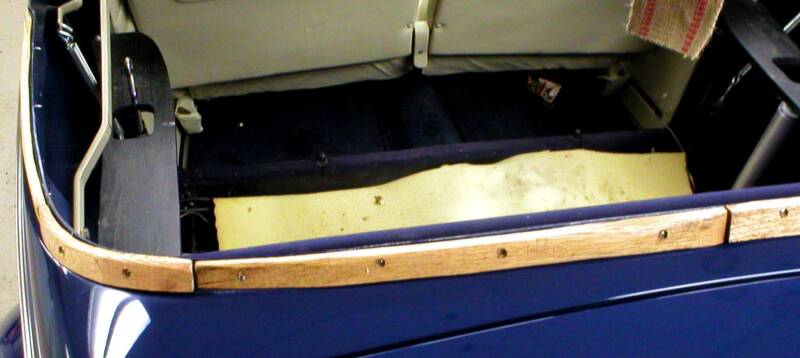
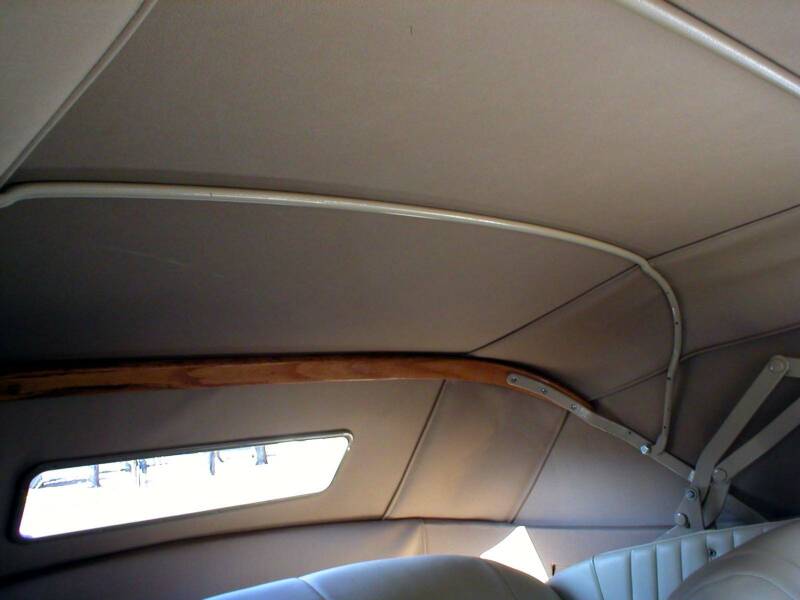
With the old top removed, a new solid oak wooden beltline tack strip was custom fabricated and installed. The previous top had only thin cowlboard type tack strips that allowed movement in an area that should be as solid as the car's body.
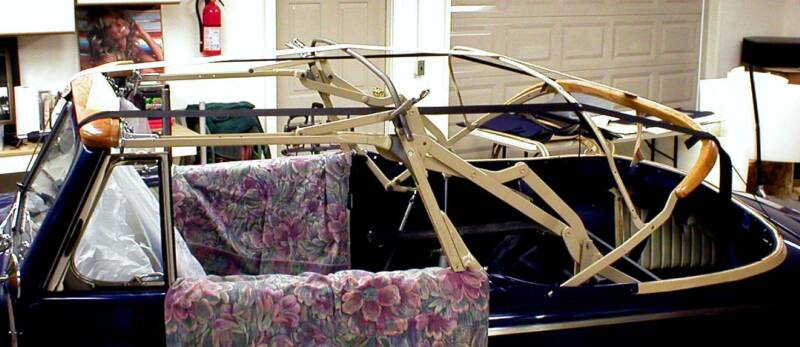
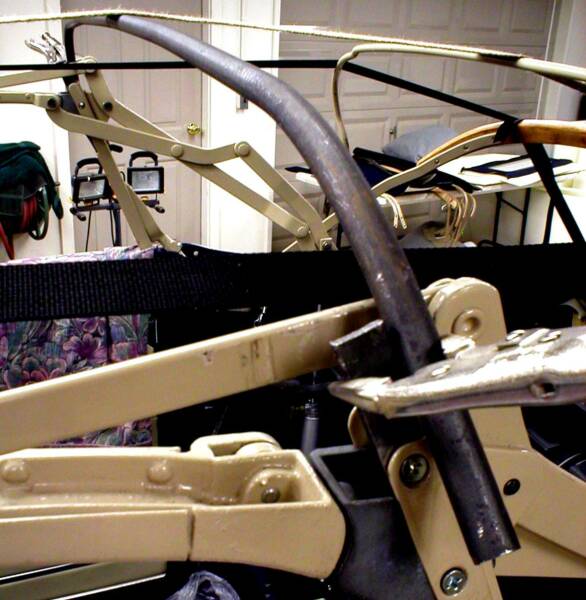
This is the beginning of the top frame mock up that visually allows Bob to see the new profile the owner specifically requested for the new top. Because the original profile of the 1940 Ford top was very high and arched, a more sleek and lower profile can be achieved by relocating the two rear bows and modifying the #1 bow. Since the #1 bow had previously been modified incorrectly and was substantially distorted, a new bow was fabricated from 5/8" solid steel rod and steel plate.
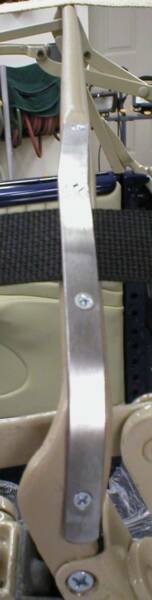
Here is how the new, hand-formed #1 bow looked during construction. This perspective shows just how much arch was formed to follow the overall lines of the top without having the original "Conestoga wagon" appearance.
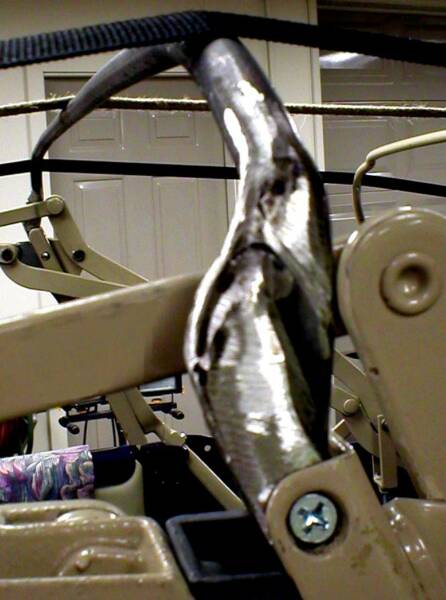
This is where the rod portion of the bow is joined with the steel plate portion. Although a fairly small area in physical size, this requires careful welding and grinding to achieve the proper contour. Much time is required for this procedure because the welding and grinding must be done with the bow removed from the frame, then test fitted several times until a proper fit. Steel flat stock will be formed to this bow and the #2 bow to create the necessary retainers for the pads
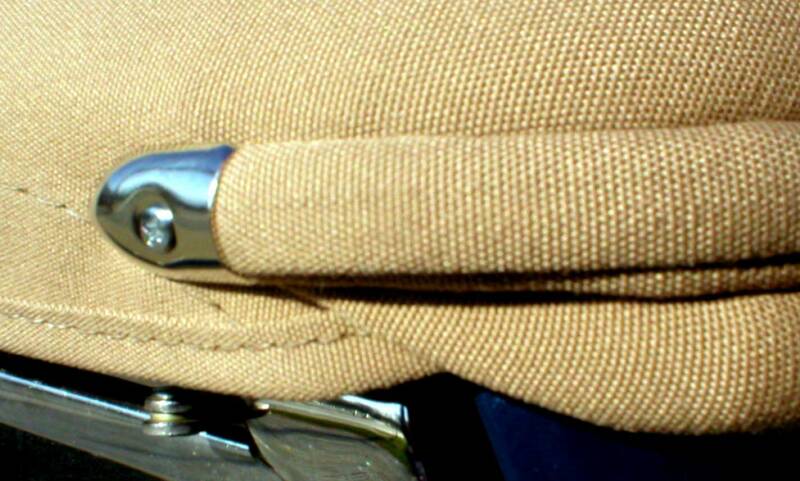
Here are a couple of pictures of the handformed pad retainers prior to paint. Without these, the top pads cannot be fastened solidly to the bows. Each piece was fitted to the bows and then fastened with screws that were countersunk, requiring two seperate steps of drilling for each hole.
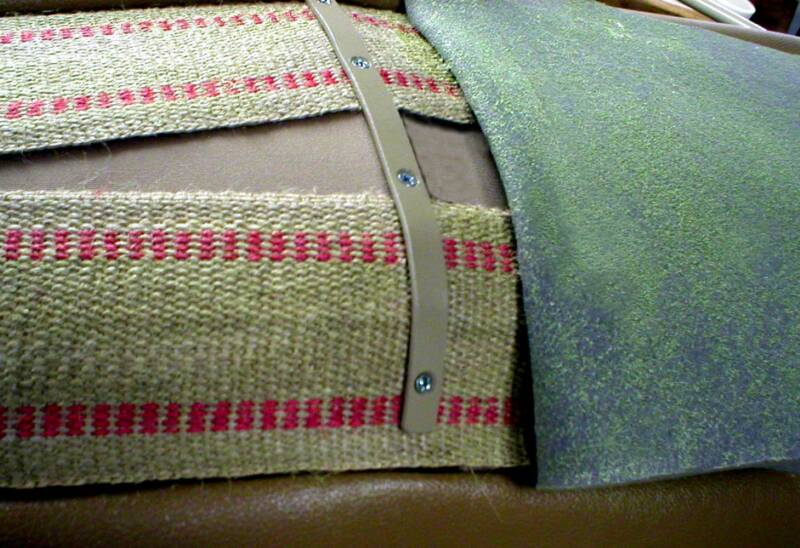
The pad retainer is installed prior to the installation of the foam padding. The picture at right depicts the layered components that create a convertible top pad.

Both sets of pads are now installed and the top is ready for the rear curtain (rear window).
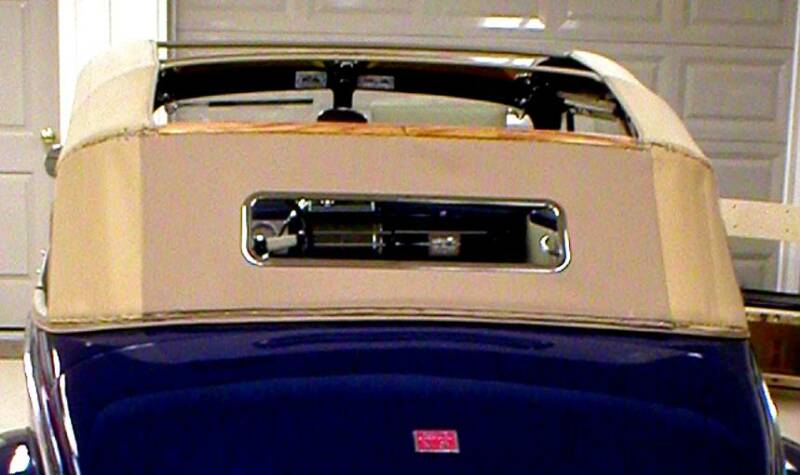
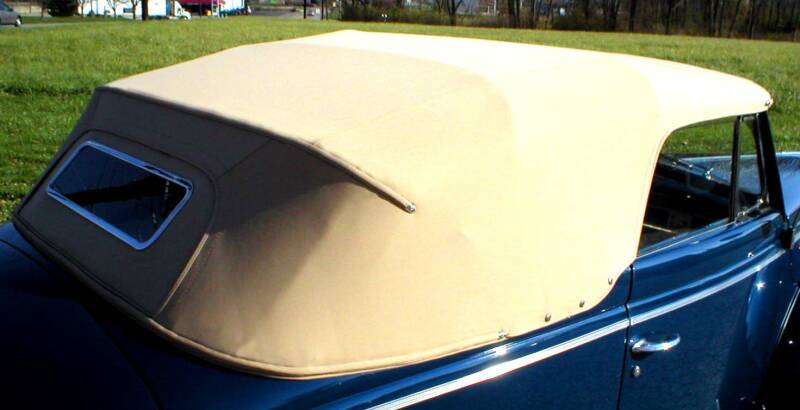
The rear curtain has been installed and is now ready for the top pattern-making and final Stayfast top.
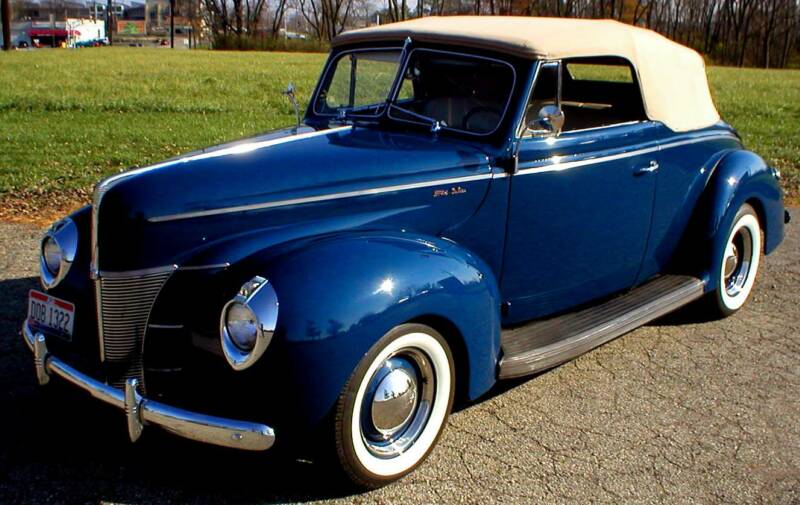
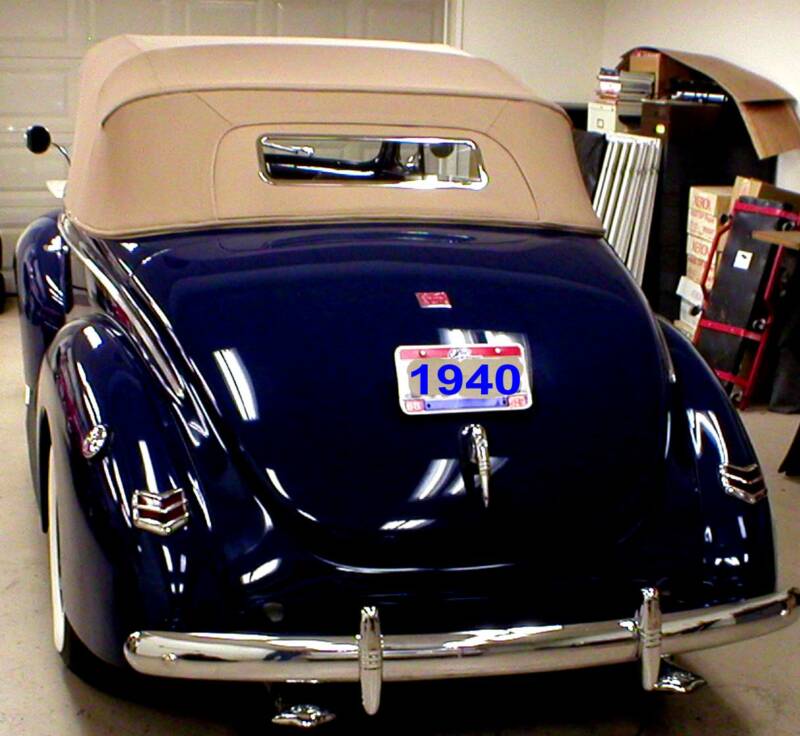
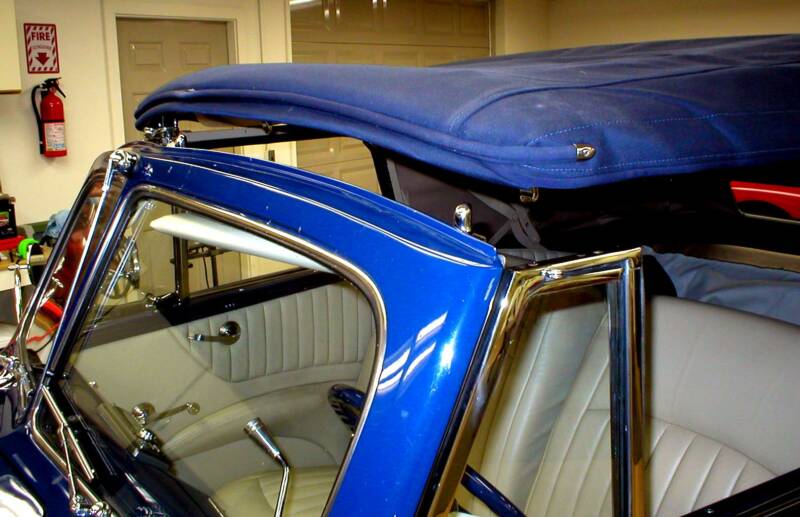
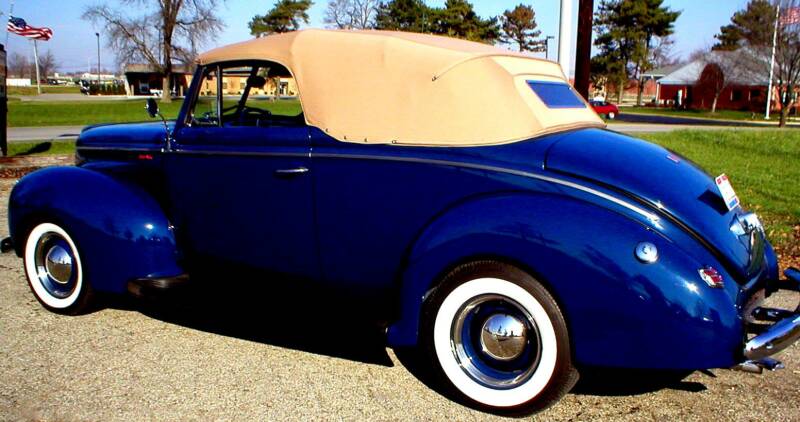
This is the completed top as it appeared when finished in the shop.
There were many hours of labor from beginning to completion, but the efforts have been rewarded by a good-looking top that is as functional as it is aesthetically pleasing.
Attention to details in quality workmanship has become the trademark of R.A. Snively Designs.